WooPayments Guide: Setup, Features, and Best Practices for Online Stores
Understand WooPayments: its features, US pricing, and how it compares. Discover a more cost-effective alternative for your financial transactions with Wise.
Shopify is an online platform that enables ecommerce businesses to build their store and start selling. It supports millions of merchants across 170+ countries and accounts for 10% of total US ecommerce.¹
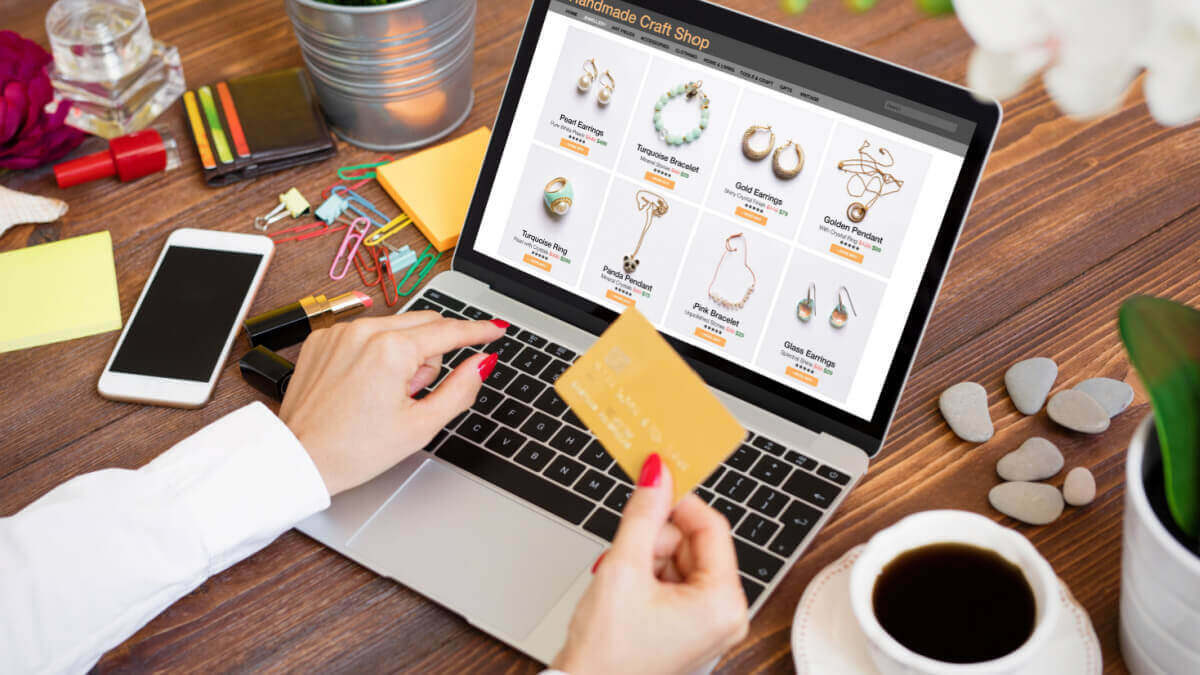
When a retail customer or wholesale merchant makes an order, you’ll need to send them an invoice. While invoicing with Shopify isn’t tricky, there are some differences and options you should be aware of.
| This guide will cover how to send an invoice on Shopify, how to track them, how to share the invoice link, and also some tips on how to receive invoice payments. |
|---|
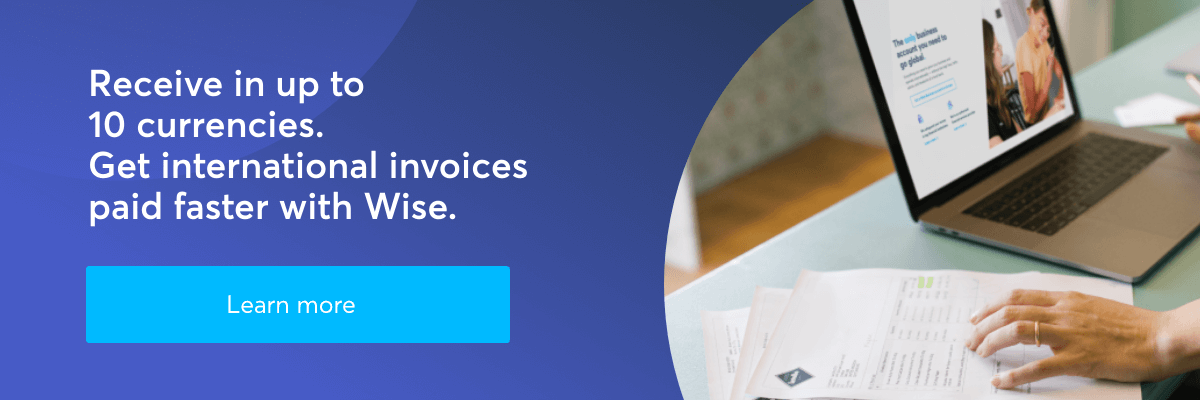
Receive Shopify payments
with Wise Business
So, how does invoicing work on Shopify?
The process for sending an invoice varies depending on whether you’re a Shopify Partner or regular ecommerce business.
Shopify Partners are marketers, designers, affiliates and developers, who are connected through Shopify to ecommerce businesses.²
As a Shopify Partner, you’ll first need to agree on the terms and conditions of the project with your merchant. After you’ve come to an agreement, you’ll need to send them an invoice.
| To create and send an invoice as a Shopify Partner, you’ll need to do the following: | |
|---|---|
|
| 📩 Once you’ve sent the invoice, your customer will receive a notification by email. |
|---|
If you’re a regular ecommerce business operating through Shopify, the invoicing process is slightly different.
For ecommerce merchants using Shopify, invoices are referred to as “Draft orders”.
| To create and send a Draft Order, you’ll need to: | |
|---|---|
|
If you’ve already invoiced a particular customer before, you can also create Draft Orders using their pre-filled out customer information, saving you time.⁴
A Draft Order is almost identical to a regular order. The only difference is that a Draft Order is missing your customer’s payment information. As soon as this is added, Shopify will automatically convert it to a regular order.⁴
If you’re subscribed to a Shopify Plus plan, then you can customize the invoices you send to your wholesale customers.⁵
This can be done by editing the original invoice template. This will enable you to offer wholesale customers alternative payment methods and terms.
To edit the invoice template, you’ll need to change the code in the email body:
|
|---|
Shopify allows you to track the status of all of your invoices. These can be found in the “Invoices” section of your Partner Dashboard.
| Shopify categorizes your invoices by type and has five different possible statuses: | |
|---|---|
|
When you invoice a customer, you’ll need to share a checkout link with them to share the invoice on Shopify. With this checkout link, your customer will be able to enter their billing information, preferred shipping method and complete their payment.⁴
To share a checkout link, you have two options.
Either, you can send an invoice to your customer that contains a link to the checkout page. Or, you can share the checkout link with them over a social media app.⁴
| To send an invoice containing a checkout link, you need to: |
|---|
| To send a checkout link over a social media app, you’ll need to: |
|---|
If your customer is having trouble using the checkout link, then you should double-check that you haven’t already marked the Draft Order as “Paid”. Draft Orders marked as paid automatically become regular orders and will prevent your customers from using the checkout link.⁴
Likewise, if you add any products to the Draft Order after having sent the invoice, shipping rates won’t automatically update to show the new cost.⁴
Shopify itself doesn’t create and send invoices automatically. You’ll have to do this manually, by creating and sending a Draft Order.
But, Shopify does offer Invoicify, a separate app that allows for automatic invoicing.
With Invoicify, all you have to do is select an invoice template. The app will then automatically create and send invoices for every order you receive. It also comes with a dedicated account manager for all paid plans, as well as 24/7 customer support.⁶
Depending on how many invoices you send per month, Invoicify offers different payment packages:
Wise for ecommerce
Payment gateway coming soon.
Learn more
If you’re selling internationally using Shopify Markets, then it’s essential to use a provider that gives you a competitive exchange rate.
The currency displayed on your customer’s invoice is determined by their shipping address, which is associated with their market. So if you change the market, you’ll change the currency displayed.⁴
Connecting Shopify to a Wise Business account could save you money when making international sales.
Wise Business is a smart online alternative to traditional banks. The Wise Business account makes it easy to receive, send, and manage international transactions.
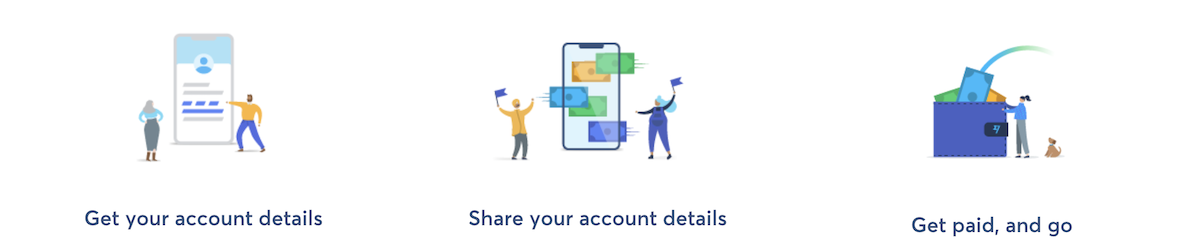
With Wise Business, you’ll have access to up to 10 local account details. This means you can receive foreign currencies like a local, without having to pay anything in conversion fees.
Get a Wise Business account,
Start saving today 🚀
If you do still need to convert a currency, then you’ll have access to the real mid-market exchange rate, saving you on high conversion costs.
| 💡 For all you need to know about invoices, don't forget to read and bookmark the ultimate guide to invoicing from Wise! |
|---|
*Please see terms of use and product availability for your region or visit Wise fees and pricing for the most up to date pricing and fee information.
This publication is provided for general information purposes and does not constitute legal, tax or other professional advice from Wise Payments Limited or its subsidiaries and its affiliates, and it is not intended as a substitute for obtaining advice from a financial advisor or any other professional.
We make no representations, warranties or guarantees, whether expressed or implied, that the content in the publication is accurate, complete or up to date.

Understand WooPayments: its features, US pricing, and how it compares. Discover a more cost-effective alternative for your financial transactions with Wise.

Learn how to register a US business in Australia. Navigate legal requirements, foreign company registration with ASIC, and the Australian tax system.
Get essential small business shipping tips to save money and streamline operations. Optimize your shipping strategy today!

An overview of the Wells Fargo Small Business Growth Program, including eligibility requirements, available resources, and application steps.

Learn about Wells Fargo business payroll. Features include automated tax filings, AI error detection, and hiring tools.

Understand Australia's corporate tax rates for 2025-26: a base rate of 25% for small businesses and a standard 30% for all other entities.