What are retained earnings? Guide for Australian businesses
Learn about retained earnings, the formula, balance sheet impact, and how to use accumulated profits for sustainable growth. Read here.
In 2024, 17.08 million Australian shoppers used online shopping websites monthly, a 45% increase from 2020 (11.78%).1 This kind of growth brings opportunity, but also higher expectations.
Getting paid online is more than just adding a checkout button. It’s about making the experience smooth, secure and reliable for both you and your customers. Whether you're just starting out or growing fast, integrating a payment gateway is an important step.
We’ll walk you through the basics required to get you started, from setup and cost considerations to factors to consider while integrating.

| Table of contents |
|---|
Payment gateway integration means adding a payment system to your website so you can accept online payments. It connects your site to services like Stripe, PayPal, or Square and handles the money safely when someone makes a purchase.
If you are a small business that's not looking to scale immediately, for example, a homegrown brand with a handful of products without a complex website layout, you can opt for basic integration since major plug-ins or heavy backend logic will not be required.
You could set up something like Stripe or Square on your own, using their docs. If you’re comfortable with basic web development (HTML/CSS or Node.js or PHP), you’ll be able to create a payment form, connect the API, and handle token exchanges. Go for this if:
Let’s say you’re a growing business that has been scaling fast by selling online, running ads, and looking to bring in overseas customers; you can opt for the advanced integration. Go for this if:
Integrating a payment gateway to your website can take anywhere between 1-2 days to a week. Here’s a breakdown of all the steps involved in this process:
In that case, here’s how you can get started:
Start with selecting a payment gateway provider that is in line with your business requirements. Some key things to consider:
Once you've selected the payment gateway, sign up on their website and create a merchant account. The merchant account acts as a middleman between your customer and your bank where it holds the payment for a short while, checks for fraud, and then sends the money to your business bank account.
For eg, if you run a mid-sized online sports merchandise brand in Australia and you’ve picked Stripe as your payment gateway, you might have to create a Stripe merchant account, connect it to your website, and use it to accept payments from customers.
During sign-up, you’ll usually need to provide business details and personal details. Most payment platforms work the same way, where you’ll be asked to verify your email and sometimes upload an ID before you can start receiving money.
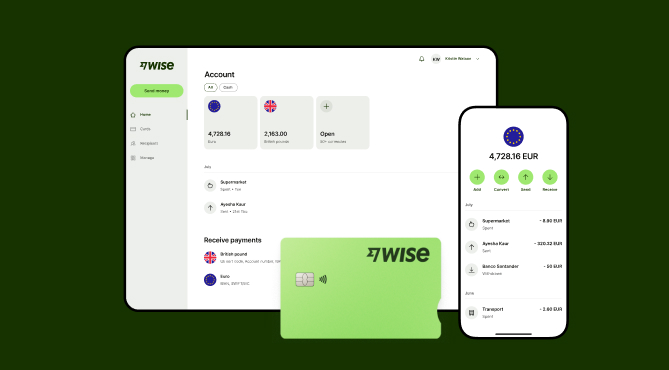
But if you’ve got customers overseas, there are a few extra things to think about. In that case, it helps to use a business account like Wise Business that supports multiple currencies. You get local bank details in AUD, USD, GBP, EUR and more, so it’s easier (and cheaper) to get paid from other countries. Once that’s set up, just link it to your payment gateway to get your payouts.

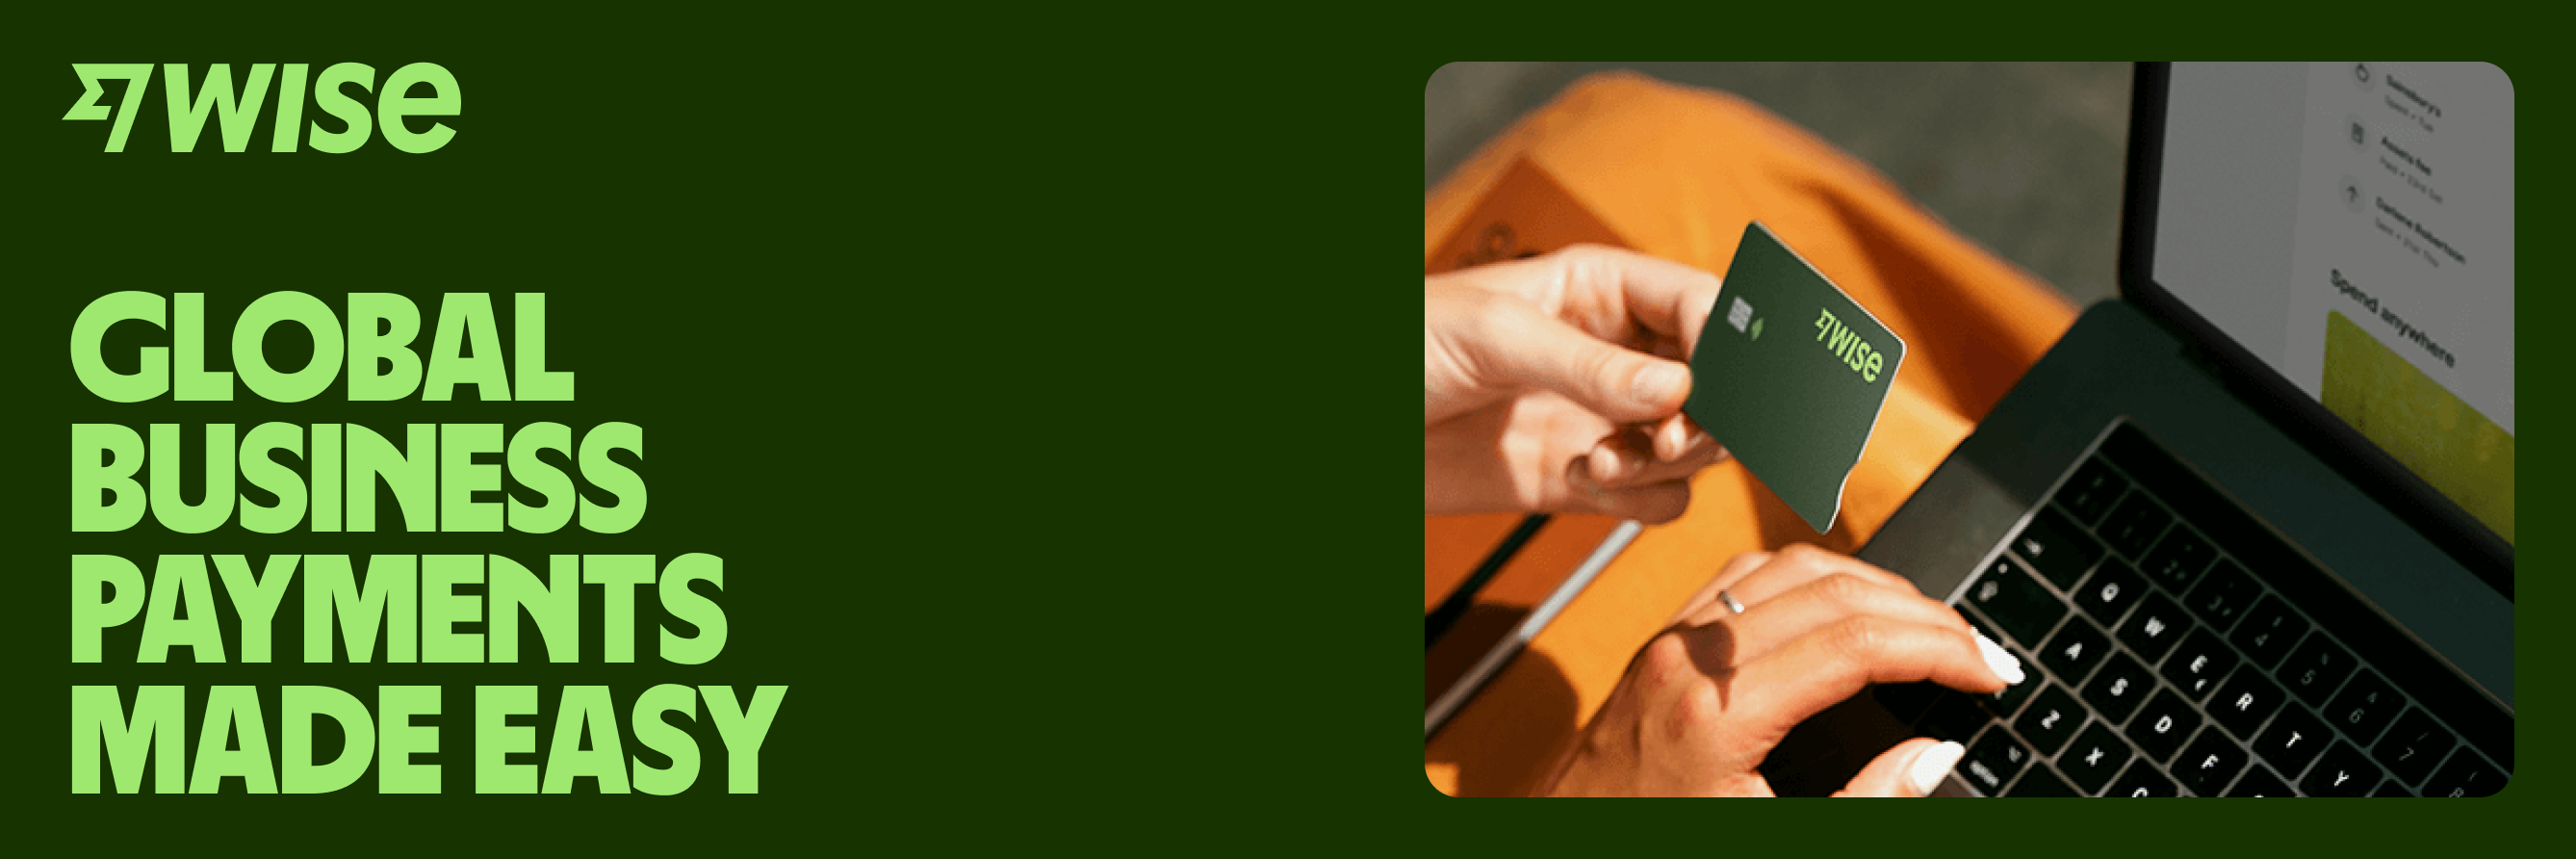
Sign up for the Wise Business account! 🚀
Once your account is set up, the next thing you’ll need is your payment gateway API keys. These keys link your website to the payment gateway in a secure way. Depending on the provider, you might have to generate them yourself or they might already be set up for you. Either way, you’ll usually find them in the “Developer” section of your account dashboard.
Just make sure to keep your secret key safe and don’t share it publicly.
After you obtain API keys, integrate the payment gateway to your site. How you do this depends on how your site’s built:
Once it’s linked, your site will be able to start handling payments securely.
The next step is to adjust the settings so it works the way your business needs. Go to your gateway’s dashboard and look out for these basics:
Before going live, check if everything works as expected. Most payment gateways offer a test or sandbox mode where you can run fake transactions without using real money. Remember to change your sandbox/test API credentials for live/production credentials and update the environment variables or configuration files so your website connects to the actual payment environment, not the test one. Do a few test runs to see how payments go through, including what happens when they fail. Make sure the checkout, payment and confirmation all work without errors.
Once everything is tested and ready, switch your setup to live mode and start accepting real payments. After going live, keep an eye on your transactions to make sure payments are processing without issues. Regular real-time monitoring helps detect errors early, track failed payments, and spot anything unusual.
Wise payment gateway
Made for ecommerce with low fees and local currencies. Coming soon.
Register for updates
Getting your payment gateway is quite simple. Once you check off API keys, basic configuration, and test runs, you’re pretty much set to start accepting payments. But beyond just setup, think about how your money flows after a transaction. Especially if you're selling globally, managing different currencies can turn into extra admin and surprise fees.
That’s where using something like a Wise Business account can help. Instead of going through multiple bank accounts or paying high conversion fees, you can receive payments in different currencies and hold them until you’re ready to convert. It keeps things simple and saves you time post-checkout.
Expanding a business globally opens up exciting opportunities, but also new challenges like receiving payments across borders. Hidden foreign transaction fees and hefty currency conversions involved with international payments can eat into your profits and time.
Receive money from around the world at the speed and price of local payments. Transform the way you receive payments with Wise Business:
Sign up for the Wise Business account! 🚀
Source:
*Please see terms of use and product availability for your region or visit Wise fees and pricing for the most up to date pricing and fee information.
This publication is provided for general information purposes and does not constitute legal, tax or other professional advice from Wise Payments Limited or its subsidiaries and its affiliates, and it is not intended as a substitute for obtaining advice from a financial advisor or any other professional.
We make no representations, warranties or guarantees, whether expressed or implied, that the content in the publication is accurate, complete or up to date.

Learn about retained earnings, the formula, balance sheet impact, and how to use accumulated profits for sustainable growth. Read here.

Learn how to calculate GST in Australia. Understand inclusive vs exclusive pricing, claim GST credits, and avoid common pitfalls to ensure business compliance.

Demystify business turnover. Learn how to calculate gross income, understand gst thresholds, and distinguish turnover from profit for your business.

Discover what a VAT number is and how it differs from Australian GST. Learn why the ABN matters for international business and more. Read here

Understand IBAN, how they differ from BSB codes, and when you need them for international transfers. Learn to navigate global payments.

Learn how to accept online payments in Australia. Learn about methods like gateways, links, and bank transfers and managing fees, security, and compliance.